
Plumbing in a typical Ugandan apartment block is divided into "first fix" — the work that happens while the building is still under structure — and "second fix" — the work that finishes the system once the building is wall-and-floor complete. First fix is invisible after plaster goes on; second fix is what the tenant sees and uses. Most leaks at handover trace back to one of three sequencing decisions that were made or skipped during first fix.
First fix: what should be on the wall
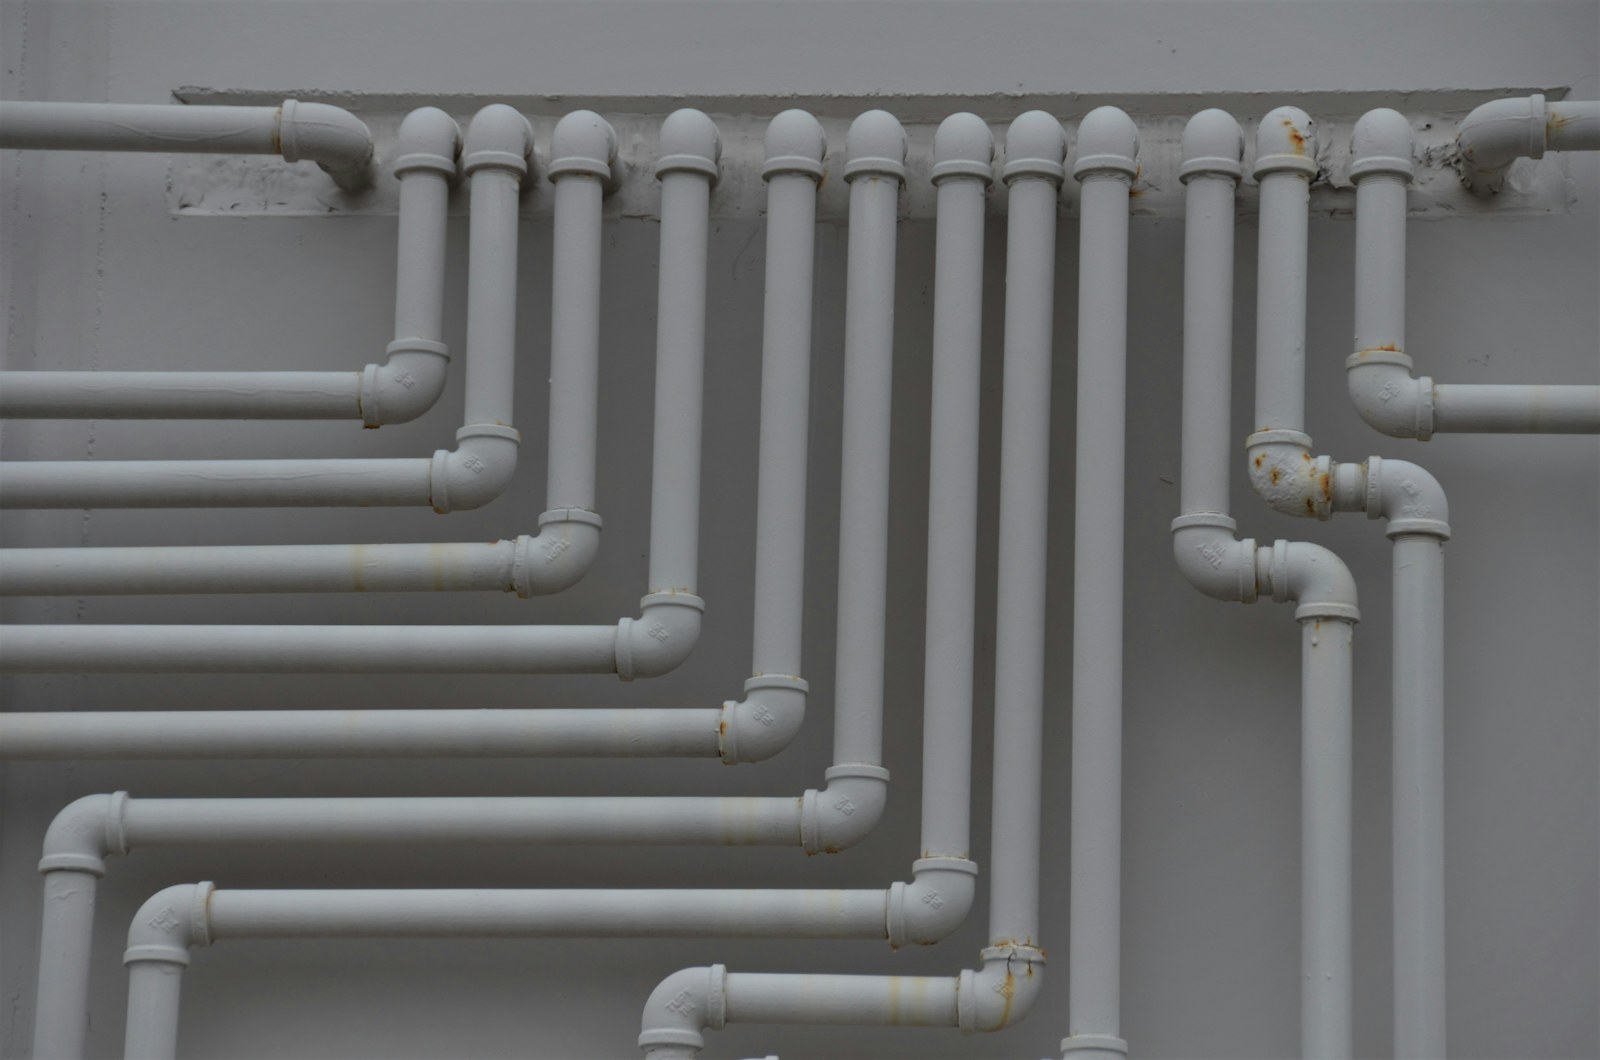
- Cold water supply pipes, sized correctly, fixed to the wall with clips at the correct spacing.
- Hot water supply pipes (where the building has a central or solar geyser system).
- Soil and waste pipes from each fixture point, falling to the stack at the correct gradient (1:40 for soil, 1:80 for waste is a common rule of thumb).
- Vent pipes extending to roof level, capped.
- Stop-valves at each unit's incoming supply.
- Where applicable: gas pipework for cookers, with shut-off at unit entry.
The three sequencing mistakes
1. Plastering before pressure-testing
First-fix water pipes should be pressure-tested at 1.5× working pressure for at least 1 hour before any wall is plastered over them. A failed joint discovered after plastering is a 200,000-shilling repair instead of a 20,000-shilling tightening. Insist on the test, photograph the gauge, and have the engineer sign off.
2. Tiling before drainage-falls are verified
Floor drains in bathrooms need a fall toward the gully — typically 1:60 to 1:100 — built into the screed. If the screed is poured flat and the tiler tiles flat, the floor drains nowhere. Water pools, joints fail, and a year later the bathroom needs to be redone. Verify falls with a spirit level after the screed cures, before tiling starts.
3. Second fix without flushing the system
Between first fix and second fix, debris (plaster, dust, sand) often enters open pipes. If you connect taps and toilets without flushing the system first, you spend the first month after handover unclogging cartridges and replacing diaphragm valves. Flush all hot and cold lines for 5 minutes per unit before fitting any tap. Run all toilets twice before walking off site.
What to test before handover
- Pressure test on the cold water main (1.5× working pressure, 1 hour).
- Drainage flow test (fill each fixture, watch it discharge through the stack and out the gully).
- Visual inspection of every pipe accessible from below the slab.
- Run every tap; flush every toilet; fill every basin; verify drainage and seal.
Why this matters
A leaking pipe behind a plastered wall is the single most expensive plumbing repair on a finished building. It involves breaking finishes, replacing pipework, re-plastering and re-painting. It can damage the ceiling of the unit below. It is also entirely avoidable with a 60-minute pressure test that any apprentice can run with a borrowed gauge. The cheap step is the one that saves you.